What to Expect During a Roof Replacement: Step-by-Step Guide
A roof replacement typically involves inspecting the existing roofing system, preparing the property, removing old materials, examining the roof decking, installing underlayment and flashing, installing the new roofing material, cleaning the property, and completing a final inspection.
Understanding each stage can make the process much easier for homeowners and help you know what to expect from your roofing contractor.
Here is how a professional roof replacement generally works from beginning to end.
Step 1: The Roof Inspection
A successful roof replacement starts before anyone removes a single shingle.
A roofing contractor should first inspect the existing roof to understand its condition and determine the appropriate scope of work.
During a professional roof inspection, contractors commonly evaluate:
- Missing, cracked, curled, or damaged shingles
- Roof flashing around chimneys, walls, valleys, and penetrations
- Signs of moisture or leaks
- Roof ventilation
- Gutters and drainage
- Soft or potentially damaged decking areas
- Previous repairs
- Storm, wind, or hail damage
For homeowners in Columbus and Central Ohio, weather exposure is particularly important. Strong winds, thunderstorms, snow, ice, heavy rain, and repeated freeze-thaw cycles can all contribute to roofing deterioration over time.
The inspection helps determine whether targeted roof repair could still be practical or whether replacement has become the better long-term solution.
Step 2: Choosing Your Roofing Materials
Once the scope of the project is understood, you will choose the roofing system and materials.
Asphalt shingles remain a common residential roofing option because they offer multiple styles, colors, durability levels, and price points.
Other homeowners may consider options such as metal roofing, depending on the home’s architecture, budget, ownership plans, and performance priorities.
Material selection should involve more than choosing a color.
Ask your roofing contractor about:
- Expected material lifespan
- Manufacturer specifications
- Wind resistance
- Maintenance requirements
- Ventilation compatibility
- Warranty terms
- Architectural appearance
- Long-term ownership costs
The most appropriate roof depends on the individual property rather than simply choosing the most expensive material.
Step 3: Preparing Your Property
Roof replacement is a major construction project, and preparation helps protect your home and property.
Before work begins, homeowners may want to move vehicles away from the house, secure outdoor furniture, protect valuable landscaping, and remove fragile objects from walls or shelves.
Roofing work creates vibration throughout the structure, especially during tear-off.
Professional crews should also plan how roofing materials and debris will move safely around the property.
Clear communication with your roofing company before installation day makes this stage significantly easier.
Step 4: Removing the Existing Roof
Next comes the tear-off.
The existing shingles and other roofing materials are removed so contractors can evaluate the structure underneath.
This stage is important because problems can sometimes remain hidden beneath an older roofing system.
Simply covering existing problems with new shingles could allow moisture damage or structural deterioration to continue unnoticed.
Removing the old roofing system gives the contractor access to the roof deck and allows the new system to be installed on a properly prepared surface.
Step 5: Inspecting the Roof Decking
Once the old materials are removed, the roof decking becomes visible.
Decking forms the structural surface beneath the roofing system and needs to be sufficiently sound to support the new roof.
Contractors look for conditions such as:
- Rot
- Moisture damage
- Soft areas
- Deteriorated wood
- Structural weaknesses
- Previous water intrusion
If damaged decking is discovered, sections may need replacement before the new roofing system can be installed.
This is also one reason final roof replacement pricing can sometimes change after tear-off: certain conditions become fully visible only after the existing materials are removed.
Step 6: Installing Underlayment, Flashing, and Protective Components
A roofing system consists of much more than shingles.
Before the primary roofing material goes on, contractors install protective components designed to help manage moisture and direct water away from vulnerable areas.
Depending on the roofing design, these may include:
- Underlayment
- Drip edge
- Flashing
- Valley protection
- Ice and water protection
- Ventilation components
Roof flashing deserves particular attention because leaks commonly develop around roof penetrations and transitions.
Chimneys, skylights, plumbing vents, walls, valleys, and other intersections require proper water management.
Careful installation in these areas can have a major effect on the long-term performance of the roof.
Step 7: Installing the New Roof
Now the visible transformation begins.
The contractor installs the selected roofing material according to the roofing system design and applicable manufacturer requirements.
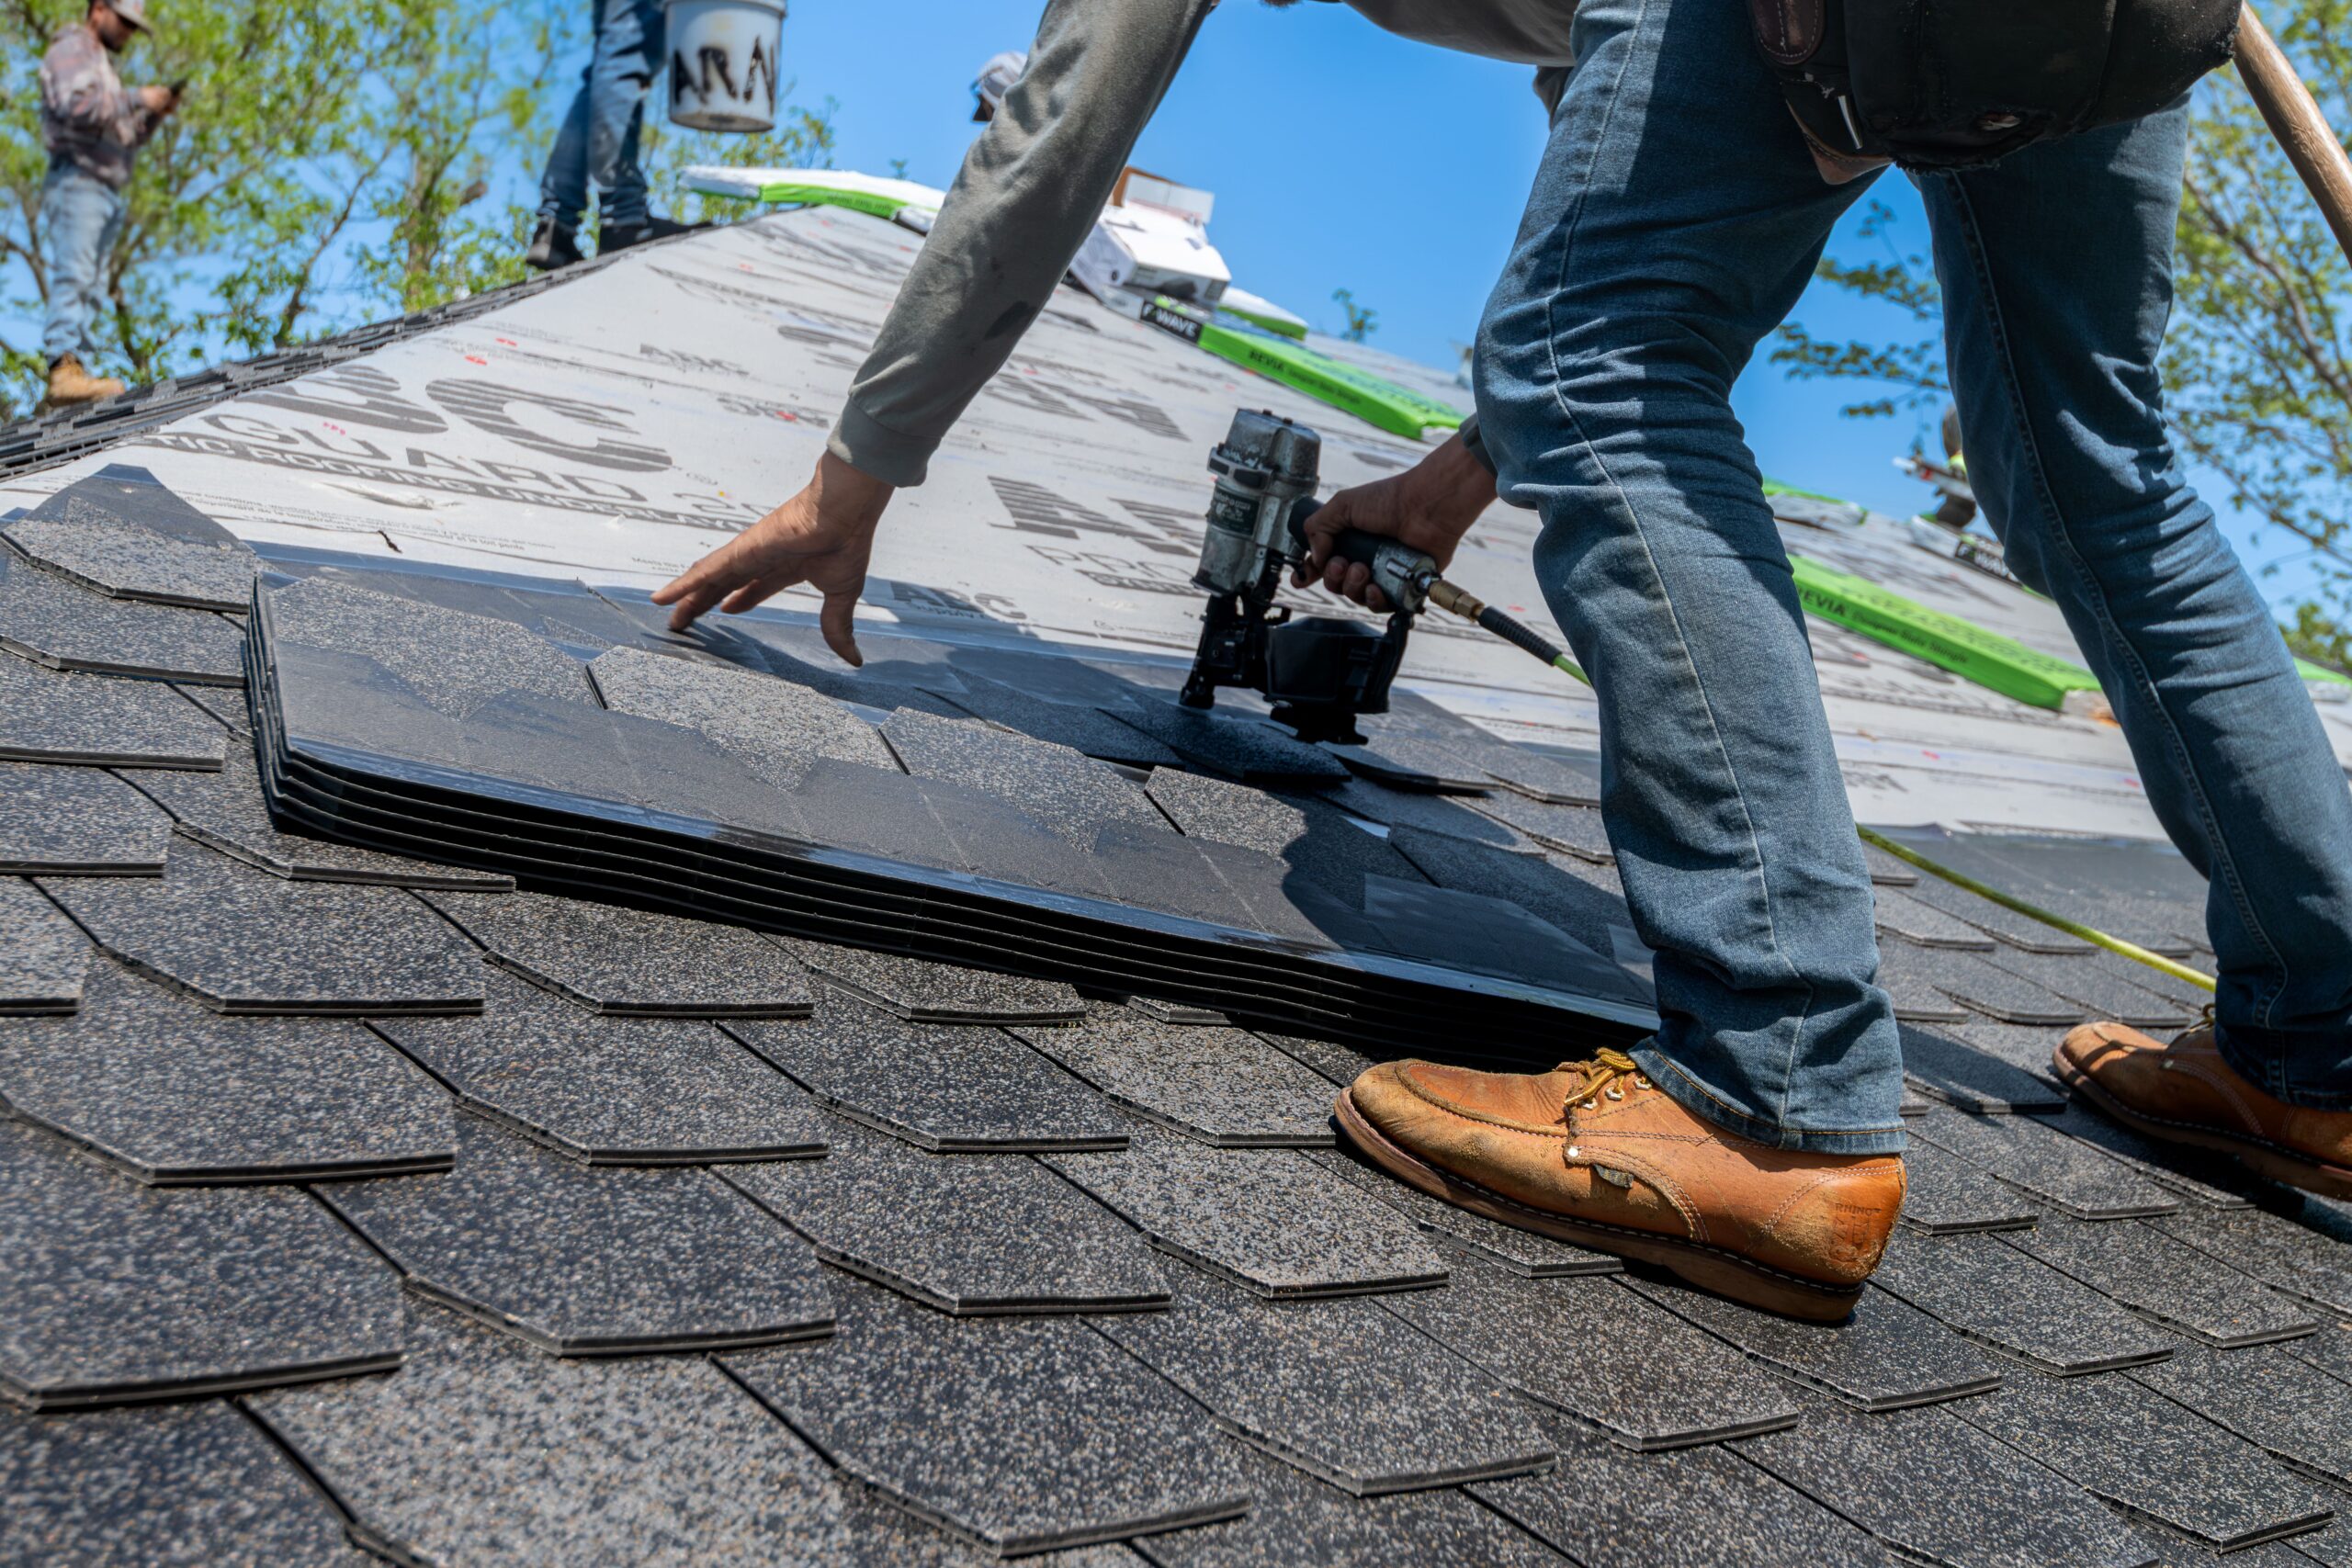
For an asphalt shingle roof, installation generally progresses systematically across the roof while maintaining proper alignment, fastening, overlap, and ventilation.
Ridge components are installed toward the final stages of the process.
A quality roof installation is about far more than appearance. Correct fastening patterns, flashing details, ventilation, underlayment, and water management all contribute to how effectively the finished roofing system performs.
Step 8: Cleanup and Property Inspection
Roof replacement produces a significant amount of debris.
After installation, the crew should remove discarded roofing materials, packaging, nails, and other construction waste from the property.
Contractors may use magnetic tools around driveways, lawns, and work areas to help locate loose roofing nails.
Homeowners should expect the property to receive a thorough cleanup rather than being left looking like a construction site.
Step 9: Final Roof Inspection
The final step is evaluating the completed roofing system.
The contractor should inspect important installation details and verify that the roof has been completed according to the intended project scope.
This is also a good opportunity for the homeowner to ask questions about maintenance, ventilation, warranty documentation, gutters, future inspections, and anything observed during installation.
How Long Does a Roof Replacement Take?
Many residential roof replacements can be completed relatively quickly, although the exact timeline varies considerably.
Factors that influence project duration include:
- Roof size
- Roof pitch
- Architectural complexity
- Number of roofing layers being removed
- Decking repairs
- Material type
- Weather
- Crew accessibility
- Flashing requirements
Central Ohio weather can also affect scheduling. Rain, storms, extreme heat, wind, or other unsafe conditions may require contractors to adjust installation plans.
A responsible roofing contractor should prioritize proper installation and safe working conditions over rushing the project.
How Can You Prepare for Roof Replacement Day?
A few simple preparations can make installation day easier.
Move cars away from the work area, secure outdoor furniture, keep children and pets away from construction zones, protect delicate items inside the home, and discuss property-specific concerns with your contractor beforehand.
If you work from home, consider that roofing installation can become loud during portions of the project.
Planning ahead makes the experience considerably more manageable.
Common Questions About Roof Replacement
Can a roof be repaired instead of replaced?
Sometimes. Localized damage may be repairable when the surrounding roofing system remains in good condition. Extensive deterioration, repeated leaks, widespread storm damage, or an aging roofing system may make replacement more practical. A professional inspection helps determine the appropriate approach.
How do I know when my roof needs replacement?
Common warning signs include widespread shingle deterioration, recurring leaks, missing shingles, significant storm damage, damaged flashing, moisture intrusion, and extensive wear. The roof’s overall condition matters more than any single symptom.
Should I replace gutters at the same time?
It depends on their condition. Existing gutters that function properly may continue to perform well. Damaged, poorly draining, improperly positioned, or aging gutters can be evaluated while roofing work is being planned.
What should I ask a roofing contractor before hiring them?
Ask about insurance, project scope, material specifications, installation procedures, property protection, cleanup, warranties, communication, payment terms, and how unexpected decking damage or additional work will be handled.
Planning a Roof Replacement in Columbus, Ohio?
A roof replacement becomes much easier when you understand the process before construction begins.
The most important decision is choosing a roofing contractor who thoroughly evaluates your property, clearly explains the work being proposed, communicates throughout the project, and pays attention to the components underneath the visible shingles.
If you are considering a roof replacement in Columbus, Ohio or the surrounding Central Ohio area, DeCarlo Contracting can inspect your roofing system, discuss the condition of your roof, and help you understand the practical options available for your property.
Contact DeCarlo Contracting to request a roof inspection or discuss your roof replacement project.